Everything that actually moves your bank balance, in the order you should do it. Real payouts, real cooldowns, and the traps that cost people their first ten million. Figures reviewed 2026-09-29.
Follow this in order. Nearly every stalled account skipped a phase and bought something expensive too early.
Phase 1 — Zero to a first million
GTA$0 – 1M
Earn without owning anything. Every purchase here is a mistake you pay for later.
01Run the Cluckin' Bell Farm RaidWait for Vincent's call, clear the three setups, then the raid. GTA$500,000 a run and GTA$750,000 the first time, with no property and no cooldown between runs.
02Finish Dax's First Dose missionsSix short story missions that hand you the MTL Brickade 6x6 with the Acid Lab installed, for free. This is the single best value in the game.
03Finish Last DoseFive more missions and the Ocelot Virtue supercar is yours at no cost. It also takes Imani Tech later.
04Keep buying nothing elseNo apartment, no clothing, no first car. Everything you need to earn in this phase is free.
Common trap: Buying a supercar at GTA$500,000 sets you back three hours of grinding for a car you will replace anyway.
Phase 2 — Build the solo engine
GTA$1M – 4M
One big score you control alone, plus something cooking in the background at all times.
01Unlock the Acid Lab equipment upgradeTen Fooligan jobs for Dax unlocks it. A full batch goes from roughly GTA$237,000 to GTA$335,000, and the sale is always a single bike.
02Buy the Kosatka (GTA$2,200,000)Unlocks Cayo Perico: the biggest payout one player can run start to finish. Expect GTA$1.2M–1.8M a run with a 144-minute solo cooldown.
03Or buy the Agency (from GTA$2,010,000)Cheaper route to steady work. The Dr. Dre contract replays for about GTA$1,000,000, and security contracts fill the wall safe.
04Set a target before you spendDecide the next purchase first, then grind to it. Drifting between activities is what stalls most accounts.
Common trap: Owning both the Kosatka and the Agency before either is upgraded leaves you with two half-built income streams.
Phase 3 — The passive syndicate
GTA$4M – 12M
Money that accrues while you play something else. This is where the account stops feeling like work.
01Buy the Chumash Bunker (GTA$1,650,000)Closest bunker to the Los Santos sale points. Add staff and equipment upgrades before you ever buy supplies.
02Buy a Nightclub (from GTA$1,080,000)West Vinewood or Downtown Vinewood for the short delivery routes. The warehouse fills from businesses you already own.
03Assign the five technicians that paySouth American Imports, Cargo and Shipments, Pharmaceutical Research, Sporting Goods, Cash Creation.
04Leave two technicians emptyOrganic Produce and Printing and Copying flood the warehouse with near-worthless units and force extra sale trips.
Common trap: Assigning a technician to weed or forgery is the most common way players ruin an otherwise perfect nightclub.
Phase 4 — Optimisation
GTA$12M+
Cut the walking. Every property from here buys you minutes, not money.
01Arcade + Master Control TerminalResupply and launch sales for every business from one screen. It pays for itself in saved driving inside a month.
02Agency Vehicle WorkshopImani Tech. A missile lock-on jammer ends the Oppressor Mk II problem permanently.
03Salvage Yard (GTA$2,245,000)Three robbery targets a week at GTA$218,000–292,000, plus a wall safe topped up by tow jobs.
04Auto Shop (from GTA$1,670,000)Contract jobs from GTA$170,000, and the Union Depository run pays up to GTA$375,000 in under twenty minutes.
Common trap: Buying every property for completeness. If you never run it, it is a bill with a loading screen.
II. The solo revenue matrix
Every earner one player can run alone, with the buy-in, the honest payout range and the cooldown that decides how often you can actually repeat it. Hourly rates use the midpoint and count only the minutes you spend running it, not the wait for stock to build.
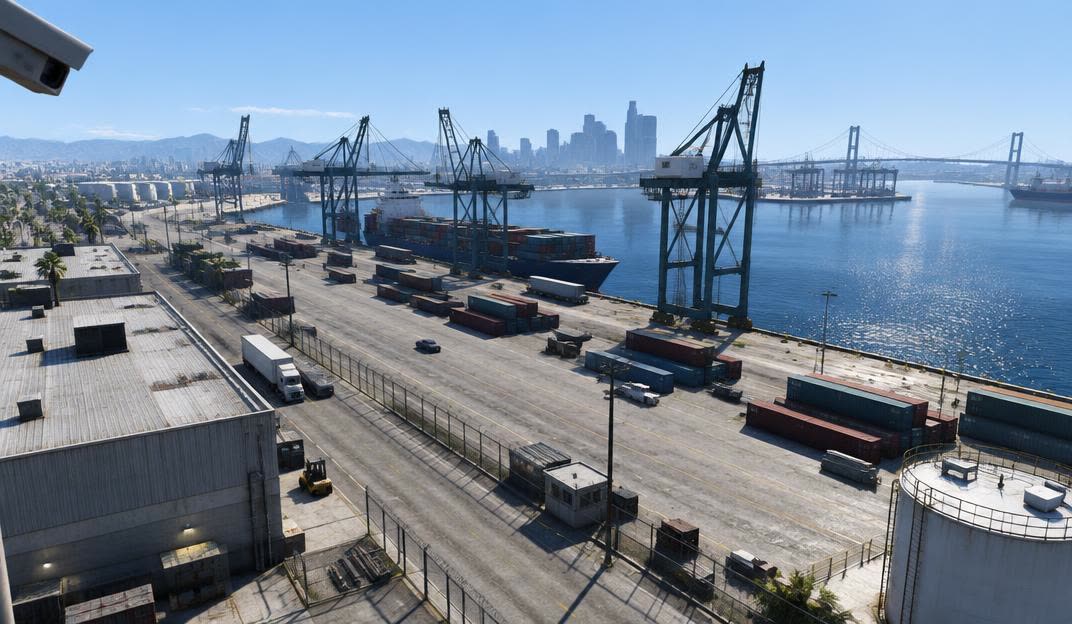
CAM-05 · Elysian Island docksDAY
Cluckin' Bell Farm Raid
Fixed payout
GTA$500,000 – GTA$750,000
Buy-in
Free
Run time
45 min
Approx. hourly
GTA$833,333/hr
Cooldown
None between runs
The best opening earner in the game. Sweep the freezer pallets before the offices, then leave north along the rail line — the track breaks line of sight and drops four stars in about a minute.
No property required
CAM-03 · Cayo Perico compoundDAY
Cayo Perico Heist
Range
GTA$1,200,000 – GTA$1,800,000
Buy-in
GTA$2,200,000
Run time
60 min
Approx. hourly
GTA$1,500,000/hr
Cooldown
144 minutes solo (3 in-game days)
Set up hard mode when the option appears for the extra primary value and the elite challenge bonus. Secondary bag priority is cocaine, then paintings, then weed, then cash — never fill on cash while gold is on the board.
Kosatka
CAM-06 · Paleto Bay approachDAY
Acid Lab
Range
GTA$237,000 – GTA$335,000
Buy-in
Free
Run time
15 min
Approx. hourly
GTA$1,144,000/hr
Cooldown
About 3 hours to refill
The sale is always one bike, however full the lab is, so it never turns into a convoy you cannot defend. Use the daily production boost and let the Stash House resupply it for free.
Free from Dax's First Dose
CAM-12 · Hawick agency HQDAY
Dr. Dre VIP Contract
Range
GTA$1,000,000 – GTA$1,600,000
Buy-in
GTA$2,010,000
Run time
120 min
Approx. hourly
GTA$650,000/hr
Cooldown
Replayable
About GTA$1,000,000 on replays and closer to GTA$1.6M the first time with the setup bonuses. Slower per hour than Cayo, but it never gets stale the same way.
Agency
CAM-04 · Maze Bank helipadDAY
Agency security contracts
Range
GTA$30,000 – GTA$80,000
Buy-in
GTA$2,010,000
Run time
14 min
Approx. hourly
GTA$235,714/hr
Cooldown
Short
Each completed contract permanently raises your Agency wall safe, up to GTA$20,000 per in-game day against a GTA$250,000 cap. The ideal filler when you have fifteen minutes.
Agency
CAM-14 · Burton custom garageDAY
Auto Shop contracts
Range
GTA$170,000 – GTA$375,000
Buy-in
GTA$1,670,000
Run time
20 min
Approx. hourly
GTA$817,500/hr
Cooldown
About 5 minutes between jobs
The Union Depository contract is the one worth repeating. The two customer car bays also pay while you do something else entirely.
Auto Shop
CAM-13 · Murrieta salvage yardDAY
Salvage Yard robberies
Range
GTA$218,000 – GTA$292,000
Buy-in
GTA$2,245,000
Run time
25 min
Approx. hourly
GTA$612,000/hr
Cooldown
Three targets per week
Scrap the car unless you actually want it in your garage — scrapping is usually the better money and costs no garage space. Two tow jobs keep the wall safe at its GTA$24,000 daily maximum.
Salvage Yard
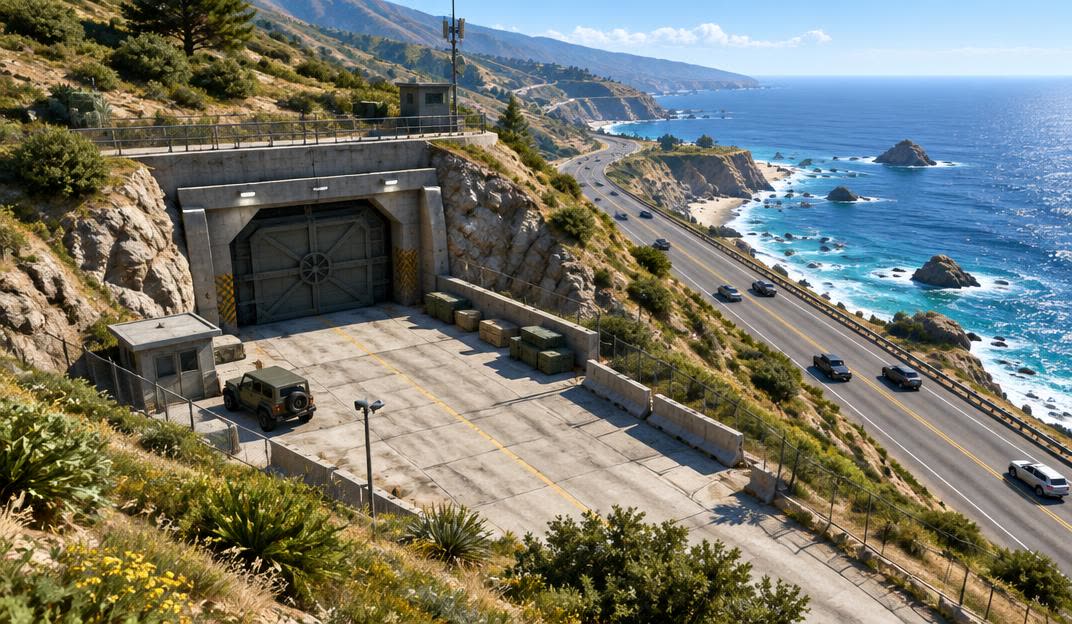
CAM-09 · Chumash coastal bunkerDAY
Bunker (solo rule)
Range
GTA$135,000 – GTA$210,000
Buy-in
GTA$1,650,000
Run time
12 min
Approx. hourly
GTA$862,500/hr
Cooldown
About 2.5 hours per supply bar
Buy exactly one supply bar for GTA$75,000 and sell the moment it runs out. One bar is always one delivery vehicle, which is what turns the bunker from a solo nightmare into a twelve-minute errand.
Chumash Bunker + upgrades
CAM-07 · West Vinewood nightclubDAY
Nightclub warehouse
Estimate
GTA$1,200,000 – GTA$1,500,000
Buy-in
GTA$1,080,000
Run time
25 min
Approx. hourly
GTA$3,240,000/hr
Cooldown
Fills over roughly 40 hours
The wall safe pays up to GTA$250,000 on its own. Keep popularity at 100% by walking in and throwing out the troublemaker — you never need to drive the promotion missions.
Nightclub + storage floors
CAM-15 · Vinewood Hills garageDAY
Payphone hits
Range
GTA$45,000 – GTA$85,000
Buy-in
Free
Run time
8 min
Approx. hourly
GTA$487,500/hr
Cooldown
20 minutes
Free money between other jobs. Complete the optional bonus kill condition — it roughly doubles the payout for about thirty extra seconds of work.
Agency unlocks them
III. Radar, cargo and defence codex
The most expensive misunderstanding in GTA Online is thinking Lester hides your cargo. He does not, and he only lasts sixty seconds.
Ghost Organization — GTA$12,000, 3 minutes
Use this for deliveries
Hides you and your whole organisation from every other player's map, cargo blip included. Buy it inside the property before the sale timer starts, not halfway down the freeway.
Off the Radar (Lester) — GTA$2,000, 60 seconds
Never use this for deliveries
One minute only, and it hides your personal dot alone. The cargo blip stays lit for the whole lobby. It is an escape button for a chase, nothing more.
Imani Out of Sight — Free, once unlocked, 3 minutes
Use it once you are already being hunted
Removes your blip and plants a decoy somewhere else, which is worth more than plain invisibility when somebody is actively chasing you.
Missile lock-on jammer — GTA$400,000
Ends the Oppressor problem
Homing missiles cannot lock on at all, so an Oppressor Mk II rider has to hit you with unguided aim. Most of them cannot.
Imani armor plating — GTA$150,000
Twelve missiles of headroom
A fully armored Buffalo STX, Granger 3600LX or Champion absorbs around a dozen homing missiles before it pops. That is more than most attackers are carrying.
The bailout rule
Leave rather than lose it all
If a sale is collapsing, switch session or quit to story mode immediately. You forfeit the cargo already destroyed, not the stock still in the vehicle. A failed sale pays nothing at all.
Deliver the biggest vehicle first
Protect the largest share
On a multi-vehicle sale, bank the highest-value drop first. If the run falls apart you keep the part that mattered.
Invite-only sales are allowed
Always an option
Every business sale can be run in an invite-only session. The only reason to be in a public lobby at all is the high-demand bonus.
Half an hour after every 06:00 UTC reset keeps every business fed and the safes full.
The 30-minute daily circuit
Resets in —
Everything that refreshes at 06:00 UTC. About 30 minutes of work left.
Ticks are saved on this device and clear at the next reset.
V. Run the numbers
Two working desks: what your empire pays per hour, and whether a public lobby is worth the risk tonight.
Empire yield calculator
0 of 10 owned
Tick what you actually own. The totals update as you go.
Per hour
GTA$0
Safes hold
GTA$0
Invested
GTA$0
Payback
—
These are steady-state estimates with upgrades bought and supplies paid for. Real sessions vary with event weeks, sale distance and how often you actually empty the safes.
Should I sell in public?
The high-demand bonus pays 2.5% per rival in the session, capped at 50%. Here is what that is actually worth against the risk.
Bonus rate
+43%
Bonus cash
GTA$446,250
Public total
GTA$1,496,250
Net vs invite-only
GTA$434,250
Worth it: you clear GTA$434,250 more than an invite-only sale. Roughly GTA$367,500 of that is at risk if the run collapses — deliver the biggest vehicle first.
VI. Where to put everything
A cheap property in the wrong place is the most expensive mistake in the game, because you pay for it in minutes every single sale. Audit what you own, then read the placements worth trading up to.
CAM-09 · Chumash coastal bunkerMeta: Chumash sits on the coast highway — short, flat sell routes.DAYCAM-05 · Elysian Island docksTrap: Elysian Island is the longest nightclub delivery in the game.DAYCAM-06 · Paleto Bay approachTrap: the Paleto curse — every northern sale is a cross-map drive.DAY
Rate my map
Where your properties sit decides how long every sale takes. Pick what you own.
Efficiency
—
Bunker
Nightclub
Arcade
Agency
Salvage Yard
Kosatka
Pick what you own and I'll tell you what is costing you time.
Bunker
Chumash
Straight run down the Great Ocean Highway into Los Santos. Nearly every sale drop lands within three minutes.
Also fine · Farmhouse — slightly longer, but better for East Los Santos and Vinewood drops.
Avoid · costs about 14 min a cycle
Paleto Bay · Grand Senora Oilfields · Route 68
Northern bunkers put the whole Chiliad range between you and the buyer. A three-vehicle sale from Paleto is a genuine twenty-minute drive before anyone even shoots at you.
Nightclub
West Vinewood
Central, flat streets, freeway on-ramps in both directions. The single most forgiving club for multi-vehicle sales.
Also fine · Downtown Vinewood — almost identical, marginally tighter parking.
Avoid · costs about 9 min a cycle
Elysian Island · La Mesa · Cypress Flats
Industrial clubs sit at the far south of the map with dock traffic and narrow exits. Every delivery starts with a crawl before the timer gives you anything back.
Arcade
Videogeddon, La Mesa
Closest arcade to the casino, and the shortest tunnel approach for the Diamond Casino Heist setups.
Also fine · Pixel Pete's, Vespucci Beach — cheap and still reasonable for casino runs.
Avoid · costs about 11 min a cycle
Wonderama, Paleto Bay
Every casino setup becomes a cross-map commute. The price saving is gone after two heists.
Agency
Hawick Avenue
Clean rooftop helipad approach with no crane or tower obstructions, and it sits in the middle of the contract map.
Also fine · Little Seoul — equally central, slightly busier street level.
Avoid · costs about 4 min a cycle
Vespucci Canals
The canals agency has the fiddliest helipad approach of the four and adds drive time to eastern contracts.
Auto Shop
La Mesa
Central to the contract delivery zones and a wide street exit for customer car deliveries.
Also fine · Burton — closest to the Vinewood and casino drop-offs.
Avoid · costs about 8 min a cycle
Paleto Bay
Customer deliveries alone will cost you five minutes each from Paleto.
Salvage Yard
Murrieta Heights
Eastern edge of the city with fast freeway access to all three robbery approach types.
Also fine · La Puerta — better if your Agency and Auto Shop are already west.
Avoid · costs about 10 min a cycle
Paleto Bay · Sandy Shores
Robbery targets are overwhelmingly in the city. A rural yard is a commute in both directions.
Kosatka
Beached off Del Perro Pier
Park the sub close to shore on the west coast. You hop straight off the Sparrow into the city instead of flying the full length of the map after each setup.
Also fine · Anywhere on the Los Santos coastline — the point is to stay near the city, not near the island.
Avoid · costs about 12 min a cycle
Parked out by Cayo Perico
Every setup starts with a two-minute flight before the mission does.
The cocaine lockup is the one that matters most: buy the cheapest one you will actually resupply, because the nightclub technician does the real earning.
Also fine · Any placement is acceptable if you feed them through the nightclub rather than selling directly.
Avoid · costs about 6 min a cycle
Buying all five MC businesses early
Five MC businesses is five resupply chores. Own cocaine, meth and counterfeit cash for their nightclub technicians and skip the rest.
VII. Bunker research and the Mk II meta
Two unlocks — explosive sniper rounds and the thermal scope — change what a public lobby feels like more than any vehicle you can buy. Here is how to get them without gutting your bunker output.
The unlocks worth chasing
51 projects come out of the bunker in random order. These are the only ones that change how you play.
Heavy Sniper Mk II — explosive rounds
Essential
Explosive sniper ammunition, loaded from the gun locker or an MOC/Avenger workshop.
Two shots bring down a Lazer, Hydra or Raiju. One direct hit deletes an Oppressor Mk II. This single unlock changes how safe you are in a public lobby more than any vehicle you can buy.
Thermal scope
Essential
Scope attachment for the Heavy Sniper Mk II and Marksman Rifle Mk II.
See players and NPCs through walls, smoke and distance fog. It turns defending a sale from guesswork into aiming.
Pump Shotgun Mk II — explosive slugs
Strong
Explosive shells for the Mk II pump shotgun.
One-hit ragdolls at close range and disables engines. The best answer to someone rushing you on foot during a sale.
Combat MG Mk II — heavy barrel and extended clip
Strong
Barrel and magazine upgrades for the Mk II machine gun.
The highest sustained damage output you can carry in freemode. It shreds armoured NPC vehicles in mission convoys.
Incendiary rounds
Situational
Burning ammunition for several Mk II weapons.
Damage over time that finishes runners. Nice to have, never the reason to fast-track.
Bunker vehicle and MOC unlocks
Situational
Weaponised vehicle upgrades and MOC workshop options.
Mostly obsolete now that Imani Tech exists. Do not spend supplies chasing these.
How to get there fast
Keep bunker staff on 100% manufacturing
Splitting staff halves your product output and still crawls through research. Manufacturing pays; research does not sell for anything.
Pay the GTA$225,000 fast-track instead
One Acid Lab batch or a single Cayo run funds several skips. Buying your way through research is strictly cheaper than the product you would have lost making it.
Research is random across 51 projects
You cannot pick what comes next, so skip anything that is not on your essential list and keep fast-tracking until explosive rounds and the thermal scope are done.
Strip the weapon wheel with a gun locker
The Agency, Bunker or Arcade gun locker lets you hide everything you never use. Getting down to about eight weapons means the wheel selects what you meant every time, which matters more in a fight than any attachment.
Cancel the snack and armour animation
Open the interaction menu, take a snack or armour, then immediately switch weapons or vault. You get the health without standing still to eat it.
Fast-track budget
GTA$1,350,000
At GTA$225,000 a skip. That is roughly 1 Cayo run — cheaper than the product you would lose making staff research it.
VIII. Raids and how to never get one
Raids are the quietest way to lose a full bunker. Almost all of them come from one habit: staying registered as MC President while you do something else.
Nightclub
Triggers on
Popularity drops and stock sits untouched
Typical window
Roughly 4–8 hours of neglect
What you lose
A slice of warehouse stock, and popularity resets to the floor.
Prevent it: Buy the security upgrade and keep popularity topped up by ejecting the troublemaker each day.
Bunker
Triggers on
Stock sitting around half full with no security upgrade
Typical window
About 5 hours unattended
What you lose
Product destroyed outright unless you defend the raid mission.
Prevent it: Buy the security upgrade before supplies. Sell whenever a single bought bar runs out rather than hoarding.
MC businesses
Triggers on
Registering as MC President and staying registered while stock is high
Typical window
As little as 3–4 hours of registered time
What you lose
Product and supplies, plus a defence mission you probably were not near.
Prevent it: Register only to launch a sale, from inside the business, then disband the moment it is banked.
Hangar cargo
Triggers on
Full crates left sitting between sessions
Typical window
Varies
What you lose
Crates removed from storage.
Prevent it: Sell in blocks rather than filling to capacity and forgetting about it.
The golden MC rule
Never cruise around freemode registered as MC President. Registration is the clock that starts raids. Walk into the business, register, launch the sale, disband on arrival.
Ghost raids are real
Sometimes the call and the on-screen warning never arrive and you find out from an empty stock bar. If you have been away from a business for hours, check it before you assume it is fine.
The force-quit protocol
If a raid fires and you cannot get there, closing the game before the raid resolves usually preserves the stock, because the loss is written when the raid completes. It is graceless, and it is better than losing a full bunker.
Buy security before supplies
The security upgrade costs less than a single full bunker of product. Players skip it to afford supplies faster and then lose the supplies.
IX. The heist almanac
Every major vault target in one table, with the crew choices that matter and a calculator for what actually lands in your bank after cuts.
CAM-02 · Diamond Casino & ResortDiamond Casino — diamonds only appear during rare events.DAYCAM-03 · Cayo Perico compoundCayo Perico — the panther statue is the rare primary.DAYCAM-08 · Grand Senora facilityDoomsday facility — Act III pays the most of the three.DAY
Target almanac
Maximum haul per target, before anybody gets paid.
Heist
Target
Max haul
How often
Diamond Casino
The best take in the vault, and it is not always available.
GTA$3,619,000
Rare — event weeks only
Diamond Casino
Heavy, so bag capacity matters more than with cash or art.
GTA$2,843,000
Uncommon
Diamond Casino
Fast to bag. The reliable default target.
GTA$2,580,000
Common
Diamond Casino
The weakest primary. Reset the target if you can afford the wait.
GTA$2,115,000
Common
Cayo Perico
The highest single primary in the game when it appears.
GTA$1,900,000
Rare — event weeks only
Cayo Perico
Secondary loot is where the rest of the run's value actually comes from.
GTA$1,100,000
Common
Doomsday — Act III
Hard mode on Act III is the biggest fixed payout outside Cayo.
GTA$1,800,000
Fixed
Doomsday — Act II
Famous as a two-player replay loop — the finale can be repeated without redoing setups.
GTA$1,550,000
Fixed
Doomsday — Act I
The cheapest act to run and a decent first team heist.
GTA$1,125,000
Fixed
Vault values are the maximum haul before Lester's cut, crew cuts and damage. What lands in your bank is always lower — use the split desk for the real number.
What you actually take home
Selected: Artwork
Your share
GTA$2,083,350
Each other player takes about GTA$367,650.
After the 5% Lester cut. Setup costs and damage are not included.
Casino crew and approaches
Avi Schwartzman · Hacker · 10%Longest vault time by a wide margin. Unlocked after the Diamond Shopping mission.
Paige Harris · Hacker · 9%The best hacker most players actually have. Take her until Avi is unlocked.
Christian Feltz · Hacker · 7%Cheap, and the shorter timer costs you more than the cut saves.
Karim Denz · Driver · 5%Cheap drivers are fine. You only need the vehicle to exist.
Karl Abolaji · Gunman · 5%On a stealth approach the gunman barely matters. On aggressive, pay for the better loadout.
The Big ConEasiest soloGruppe Sechs or Yung Ancestor disguises walk you straight in. The most forgiving approach if you are learning the vault.
Silent & SneakyHighest skill ceilingFull stealth with suppressed weapons. The elite challenge is easiest here, but one alarm ruins the run.
AggressiveFastest, loudestShoot your way in and out with a short timer. Viable with a competent second player and a lot of armour.
Take it into the session
The handbook is the theory. The war room is the live version — safes filling, cooldowns ticking, this week's bonuses.